
10 Simple DIY Halloween Nails You Can Do at Home
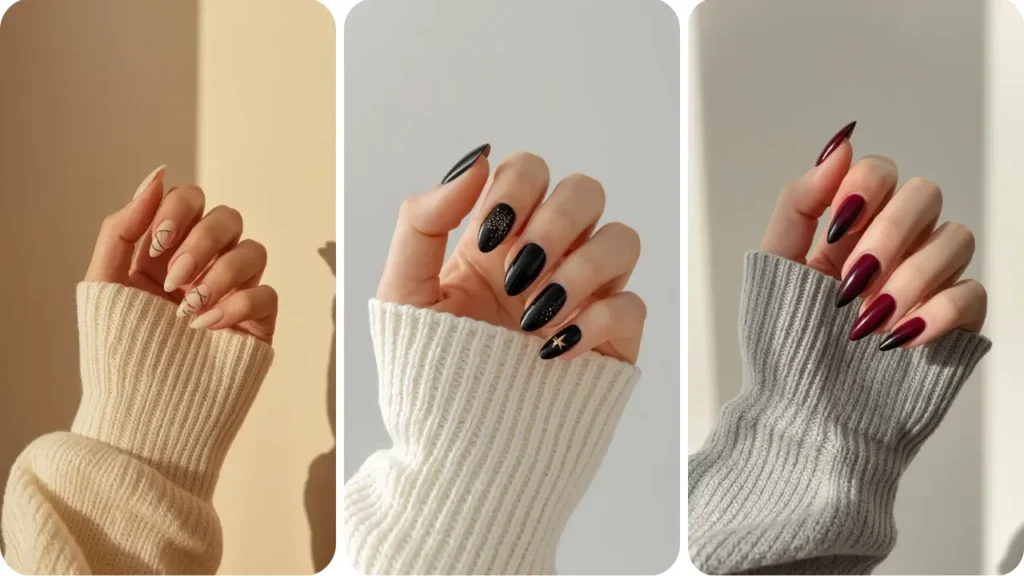
Getting festive for October does not require hours at an expensive salon or steady professional hands. You can create eye-catching nail art right at your kitchen table using regular polishes and tools you already own.
The prettiest spooky season manicures rely on subtle contrast and clean shapes rather than complicated miniature drawings. A sheer base paired with simple dots or quick brush lines keeps your hands looking modern and polished.
Household items like bobby pins, toothpicks, and scotch tape make precision work painless for beginners. These quick tricks cut down drying time and prevent messy edges so your nails hold up through busy fall days.
Here are ten simple DIY Halloween nails that anyone can pull off in under thirty minutes, perfect if you’re building out full halloween outfit and nail ideas from scratch. Each design adds an easy seasonal touch to your autumn wardrobe without any fuss.
1. Minimalist Floating Black French Tips
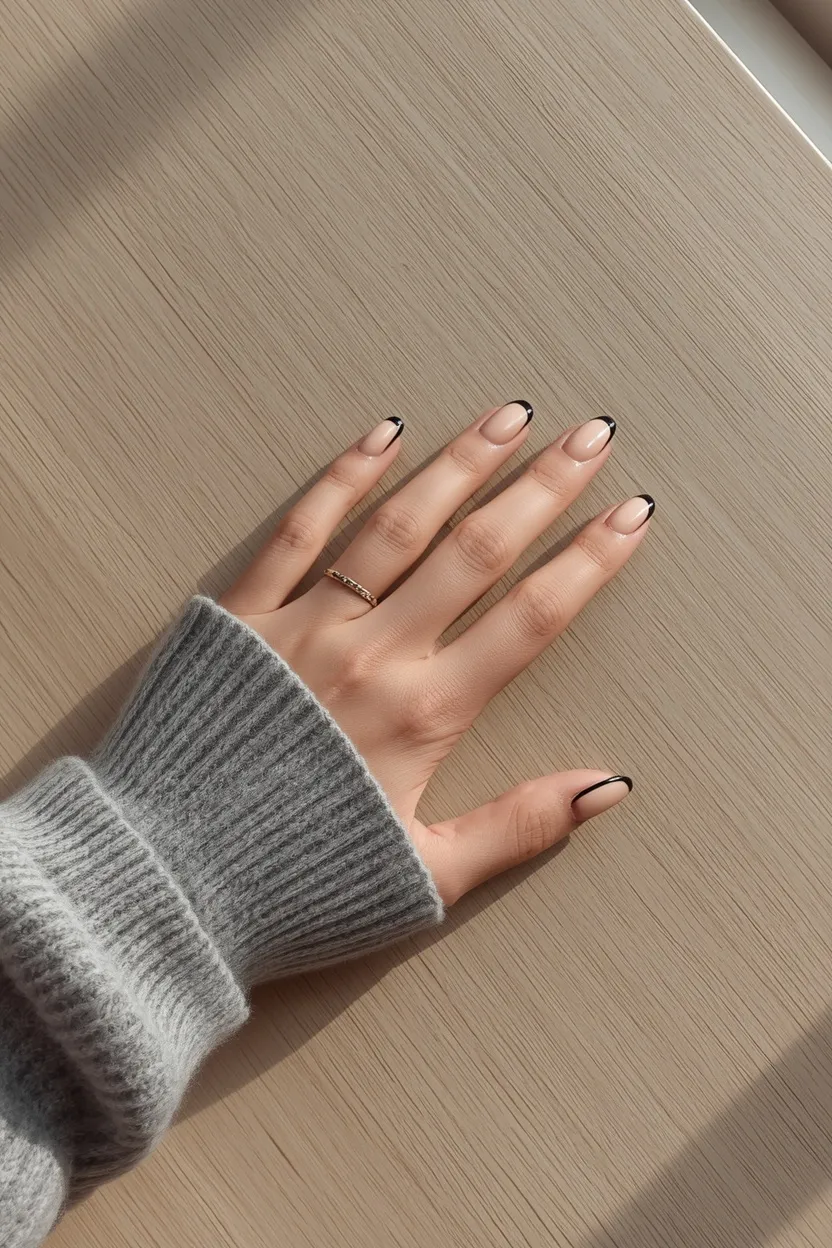
Micro-fine black tips painted across a sheer nude base reinvent the classic French manicure with a moody seasonal twist.
Keeping the smile line ultra-thin makes this look forgiving on shorter nail beds. A glossy clear topcoat seals the edges so dark lacquer resists chipping during daily routines.
Note: Use French tip guide stickers for crisp, symmetrical curves every time.
Apply your sheer pink or nude base and let it dry completely before pressing down stickers to avoid peeling the base color.
2. Tiny Ghost Accent Nails on Bare Gloss
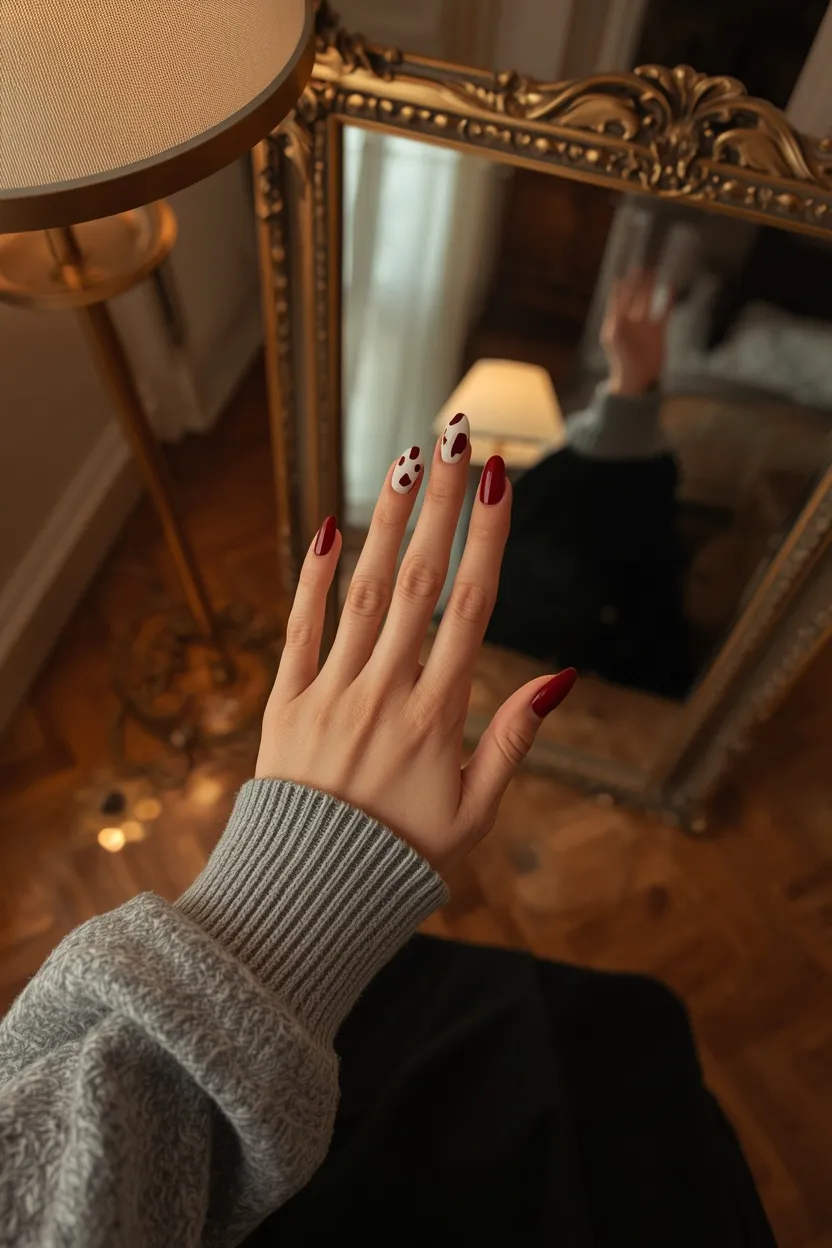
Sheer, healthy natural nails provide the perfect negative space for a single friendly ghost on your ring finger. Two rounded white dots blended downward form an effortless silhouette that dries fast.
Dip the rounded head of a standard bobby pin into white polish to stamp the body shape.
Add two pinpoint black dots with a toothpick for expressive eyes. The airy negative-space design grows out seamlessly, buying you weeks of clean wear without obvious cuticle lines.
Note: Toothpick tips create perfect tiny round ghost eyes effortlessly.
DIY Tool Checklist
3. Moody Tortoiseshell Jelly Accent
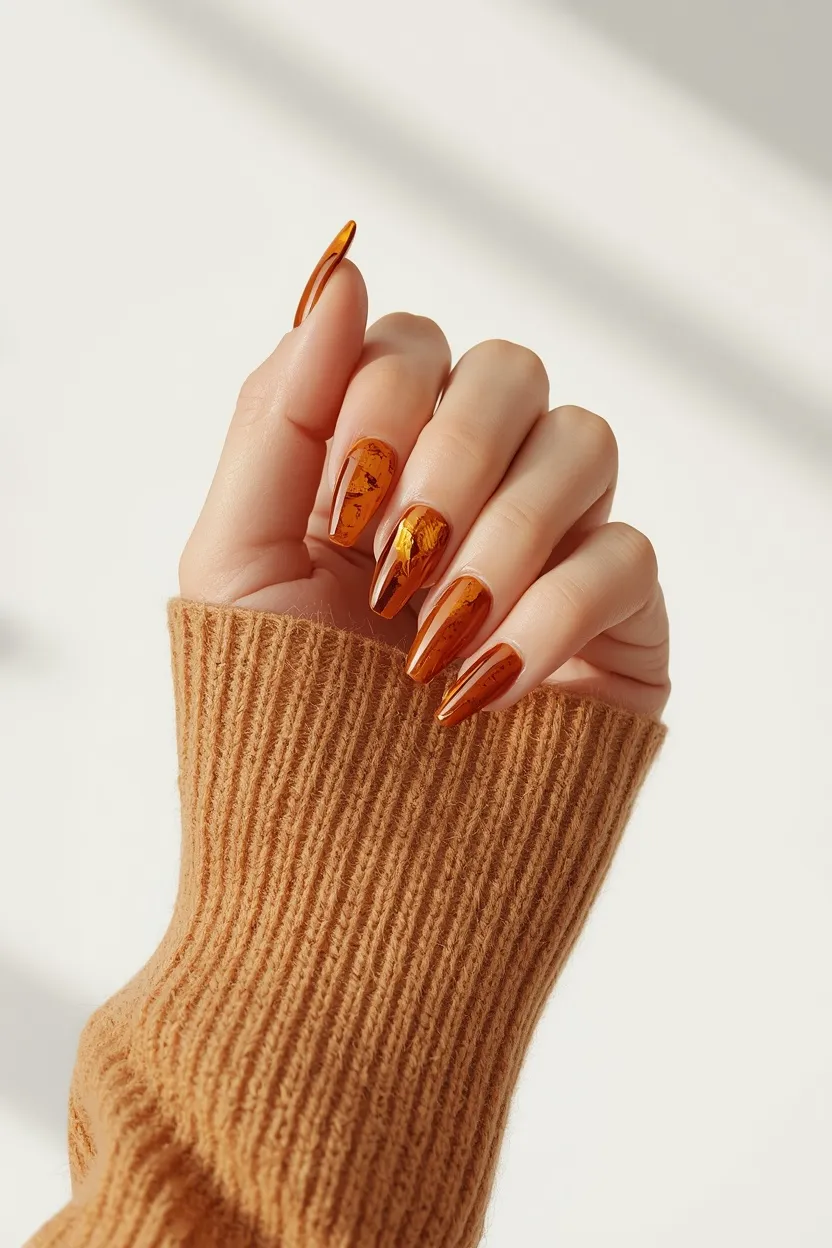
Deep amber and warm espresso swirls create an upscale tortoiseshell effect that screams autumn sophistication. Layering sheer caramel jelly coats between dark brown patches produces rich optical depth.
Warm neutral manicures match every cozy fall halloween outfit, from chunky sweaters to wool trench coats and leather totes.
- Sheer jelly polishes create dimensional depth impossible with flat opaque creams.
- Random, organic brown dabs mean zero precision or line work required.
- Flash-cure or quick-dry drops prevent muddy pigment blending between coats.
Note: Layer sheer amber jelly over brown patches for faux glass.
Use a translucent amber syrup polish as your primary base layer.
Float irregular dark espresso blobs while the jelly layer remains tacky.
Skip solid black bases that completely block glowing golden amber tones.
Avoid over-blending pigments until they morph into one muddy brown block.
4. Fine Metallic Spiderweb Geometry
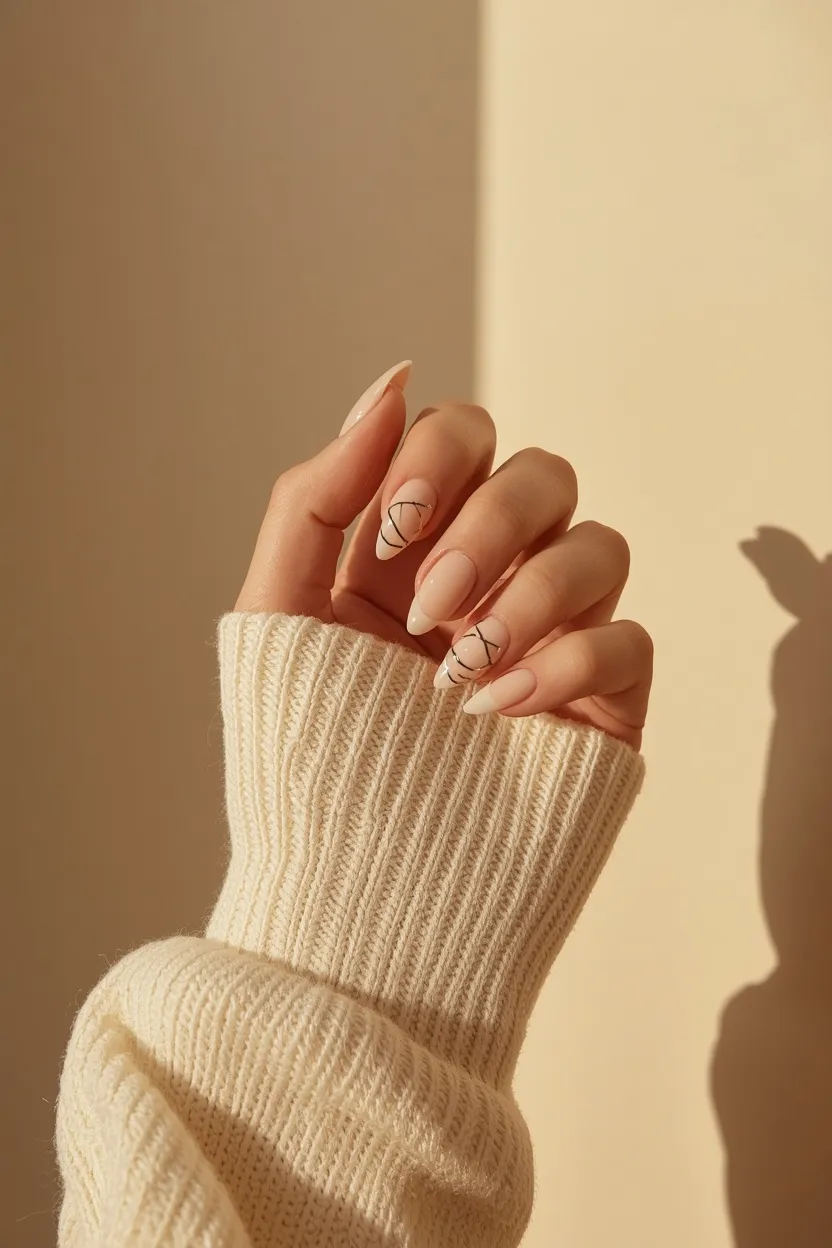
A solitary delicate web curving across the edge of a bare nail bed adds festive charm without heavy clutter. Fine lines look chic, wearable, and understated for both workdays and evening events.
- Lay down a sheer beige base and let it dry to a smooth, non-sticky finish.
- Paint three faint diagonal lines radiating outward from one nail corner using silver chrome.
- Connect the straight rays using slight, downward curved arcs to complete the web.
- Add a tiny dot of metallic silver at the center origin point for extra polish.
Note: Rest your wrist firmly on a table to steady strokes.
| Design Element | DIY Recommendation | Why It Works |
|---|---|---|
| Line Tool | Striper Brush or Sewing Needle | Draws whisper-thin metallic strands |
| Color Pair | Silver Foil on Glossy Taupe | Catches light without looking childish |
5. Dotted Celestial Gold Stars on Obsidian Black
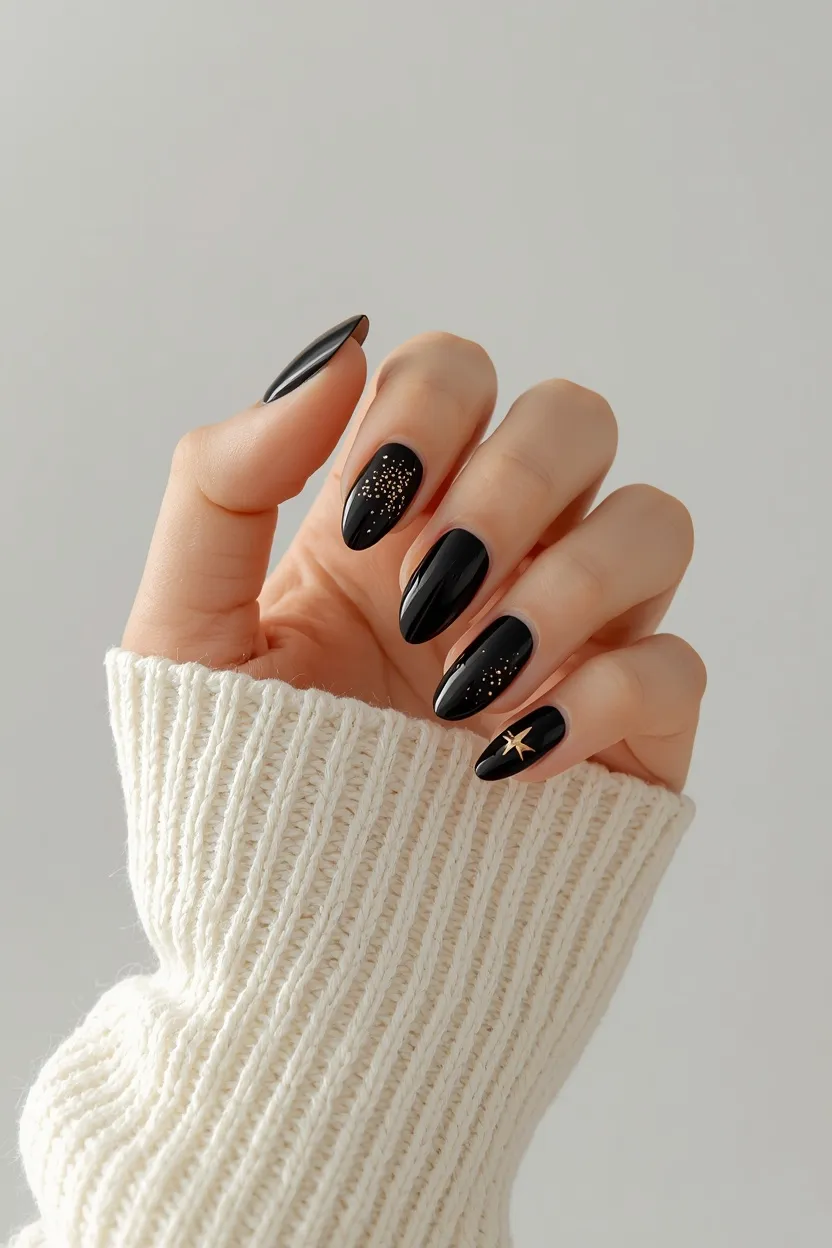
Jet-black lacquer finished with sparkling gold constellation points captures midnight magic at home. Scattering tiny metallic specks across a rich dark background creates an instant celestial mood without tricky hand-drawn patterns.
A four-point star needs just two crossing brushstrokes centered over a larger gold dot. This starry motif pairs seamlessly with stacked brass rings and thick knit cuffs on brisk evenings.
Note: Metallic gold sharpie pens draw super clean tiny stars.
6. Micro Pumpkin Cuticle Studs
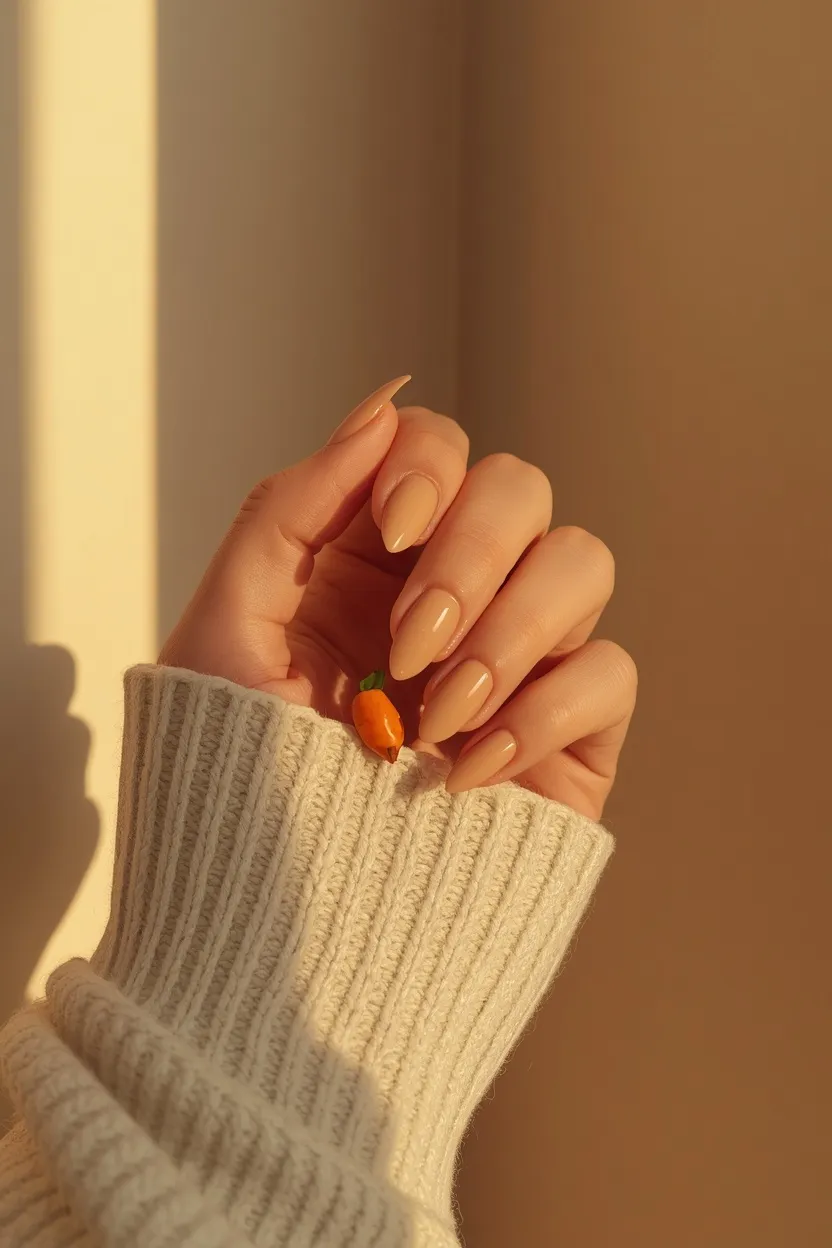
Tiny terracotta or burnt-orange semicircles hugging the base of the nail bed offer an adorable autumn nod. Leaving the rest of the nail bare maintains a modern minimalist look that avoids looking overloaded.
A tiny green flick drawn with a fine brush forms an instant pumpkin stem.
Keeping the art concentrated right along the cuticle line allows your nails to look intentionally styled as they grow. This warm harvest detail pairs naturally with hot spiced lattes and easy, casual halloween outfits you already own.
Note: Paint half-moons at cuticles to conceal natural regrowth lines.
Place micro pumpkins only on the thumb and ring fingers. Keeping the middle fingers plain creates a chic, high-end editorial balance.
7. Deep Oxblood Ombré Sponge Gradient
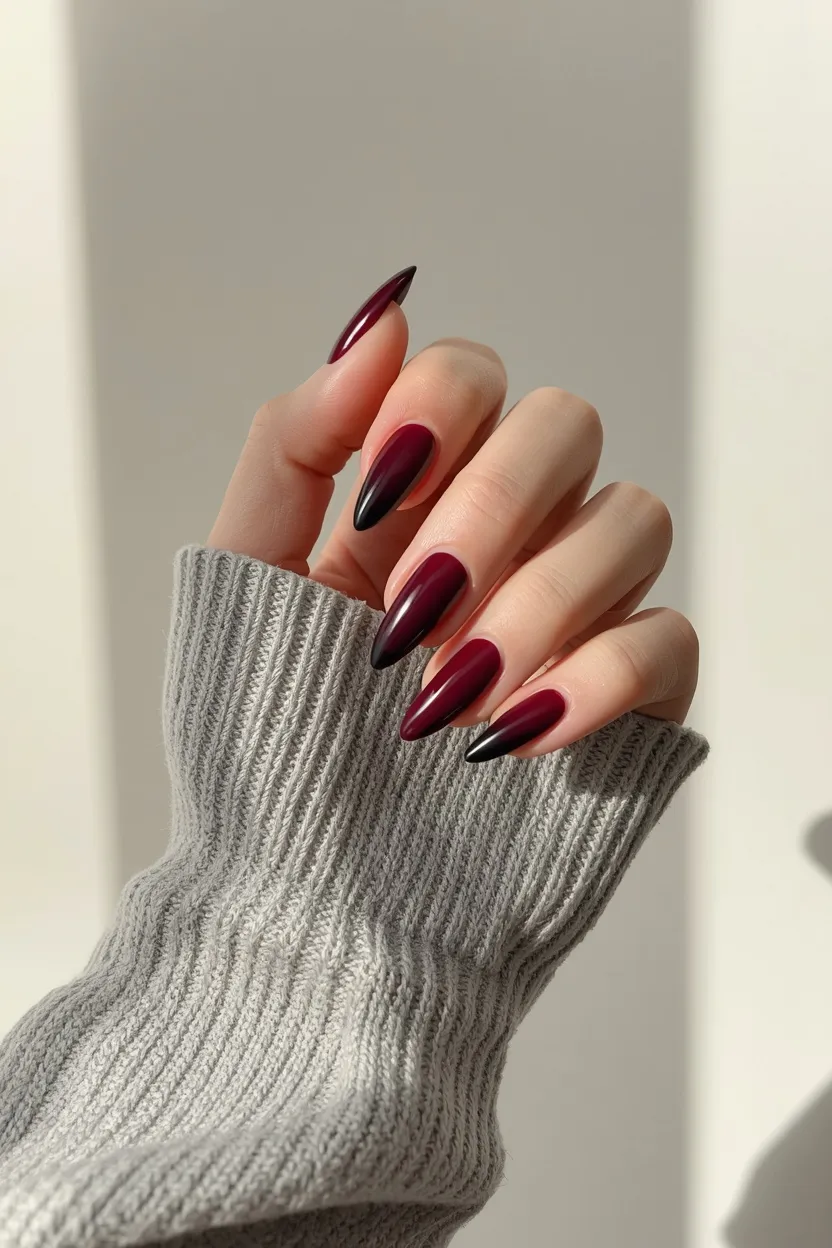
Blending deep berry-red into pitch-black nail tips creates a sultry, vampiric gradient with dramatic dimension. Using a damp kitchen sponge feathers the pigment transition smoothly without leaving harsh paint ridges.
Dabbing rather than brushing creates a diffused airbrushed appearance on any nail shape.
- A damp wedge makeup sponge diffuses rich jewel tones without messy streaks.
- Liquid latex or painter tape around cuticles saves ten minutes of cleanup.
- Thick topcoats melt blended color lines together into a single fluid ombré.
Note: Damp makeup sponges blend dark gradients without streaks.
Dragging thick polish brushes across wet colors, causing messy streaks and slow drying.
Lightly tapping a sponge saturated with red and black polish directly onto dry nails.
8. Slanted Tuxedo Negative Space Chevrons
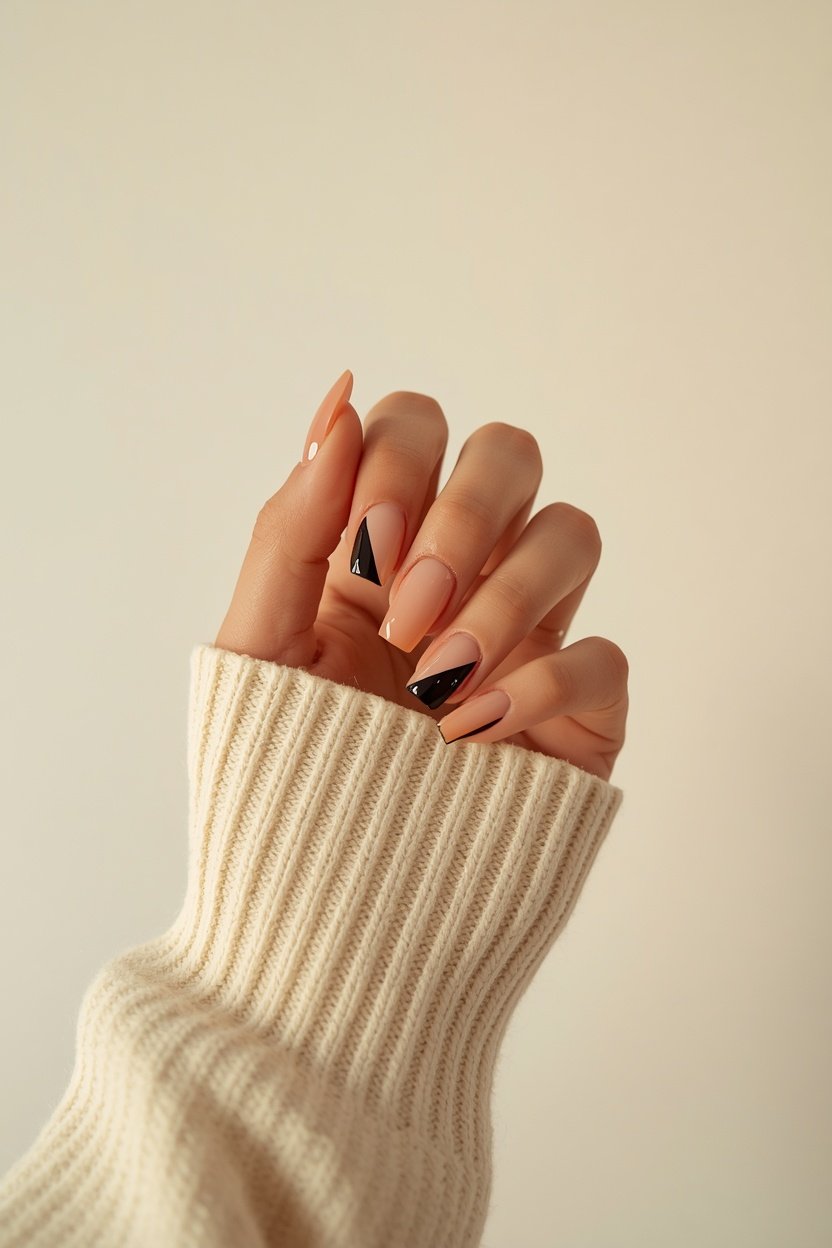
Diagonal black lines slicing across neutral nails create geometric interest with razor-sharp architectural clarity. Clear negative space keeps the manicure feeling fresh and prevents dark polishes from looking heavy on shorter lengths.
- Lay down two thin strips of striping tape to map out an off-center diagonal V-shape.
- Fill the inner wedge with two coats of rich black cream lacquer.
- Peel away the tape while the black lacquer is still slightly wet to avoid jagged edges.
- Seal with a matte or ultra-gloss topcoat depending on your preferred finish.
Note: Pull guide tape off while polish is wet for crisp lines.
Sharp diagonal angles naturally elongate shorter nail beds while delivering high-contrast graphic style that matches structured blazers and autumn outerwear.
9. Matte Velvet Cat-Eye Shimmer
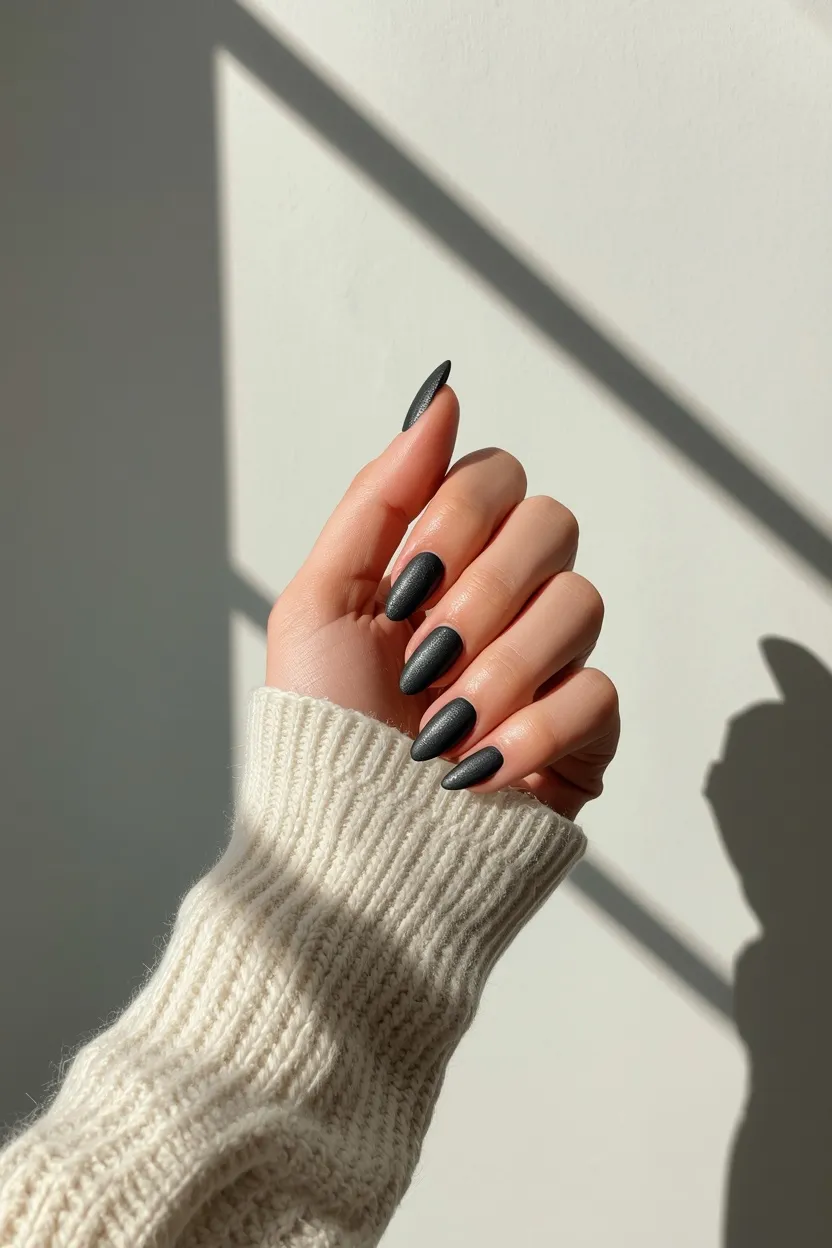
A dark charcoal or obsidian magnetic gel polish creates three-dimensional velvet depth with a single wand pass. The shifting silver particles sparkle like mist under ambient lighting while the velvet finish remains smooth and understated.
Topping your magnetic coat with a velvety matte topcoat eliminates harsh glare.
The resulting texture looks like crushed gothic fabric across your fingertips, echoing other aesthetic halloween nails styled throughout this list. It holds up exceptionally well throughout October dinners, coffee runs, and weekend gatherings with friends.
Note: A matte topcoat transforms metallic magnetic shimmer into soft velvet.
Hold the magnet steady beneath your finger pad rather than hovering above to pull all sparkling particles evenly toward the nail surface.
10. Playful Dotted Candy Corn Gradient
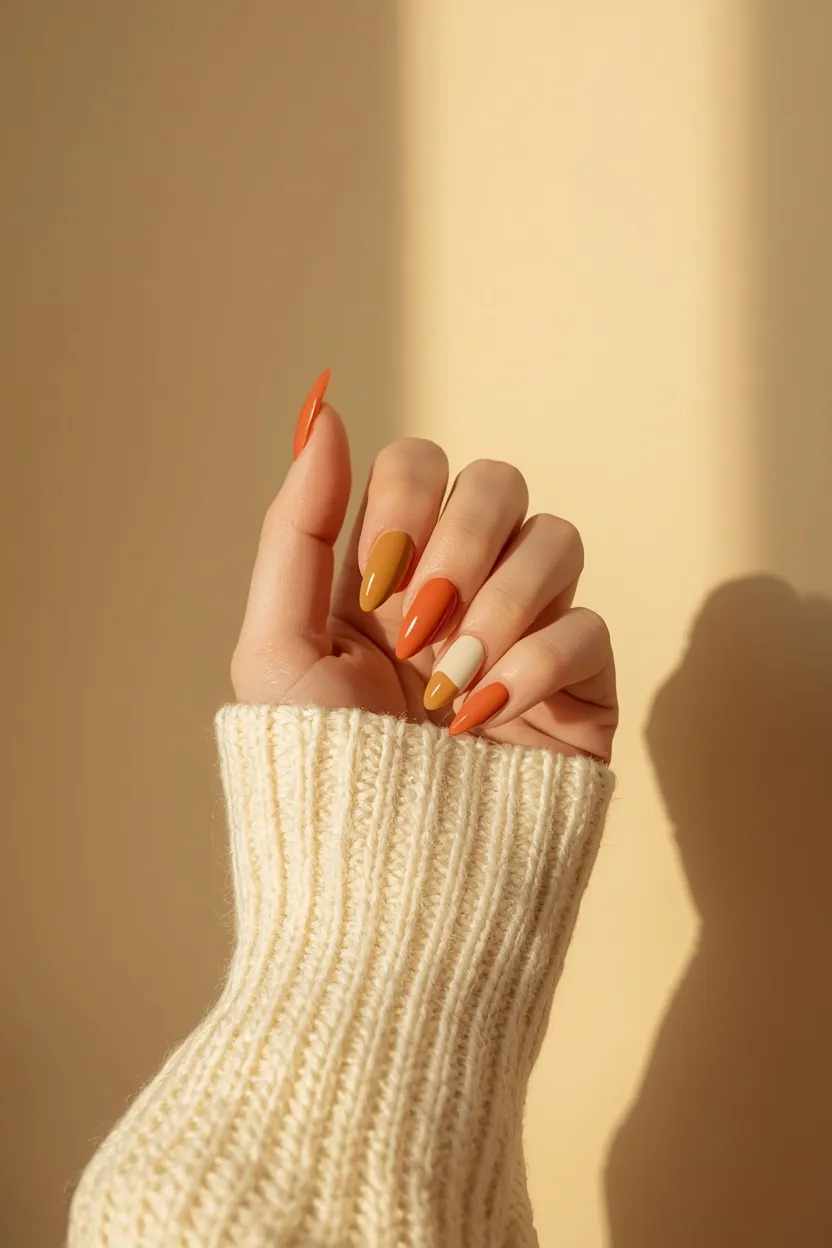
Swapping cartoon drawings for horizontal color blocks captures nostalgic candy corn sweetness in a modern, wearable way. Stacking sunny yellow, rich terracotta, and clean white bands gives you a bright pop that stands out against moody dark wardrobes.
Dabbing three stacked horizontal dots with a ball-end stylus produces soft blurred borders.
Clear glossy topcoats smooth the stacked pigments into a level, high-shine surface. This playful design brings cheery October nostalgia to pumpkin carvings, harvest festivals, and weekend gatherings.
Note: Round stylus tools make stacking candy stripes easy and fast.
Color Stacking Order
Elevating Spooky Season Nails From Home
Creating chic seasonal nail art does not require complex hand-painting skills or expensive salon visits. Leaning into clever DIY techniques like negative space, household dotting tools, striping tape, and sheer jelly layering lets you achieve high-end Halloween manicures in minutes.
Pair these understated motifs with a durable, high-gloss topcoat to ensure your manicure resists chips throughout busy pumpkin picking days, cozy coffee runs, and autumn evenings. You enjoy festive spooky flair that blends naturally with your daily fall wardrobe.
Frequently Asked Questions
What household items can I use instead of professional nail dotting tools? +
You can easily use everyday items found around the house. The rounded tip of a metal bobby pin works well for larger shapes like ghost silhouettes and pumpkin bases, while the tip of a wooden toothpick or sewing pin makes precise tiny dots for ghost eyes and delicate stars.
How do I keep my DIY Halloween nail art from chipping quickly? +
Always cap the free edge of your nail with both the base coat and topcoat to lock the polish in place. Letting each layer dry completely before painting art details, followed by a thick layer of quick-dry clear topcoat, protects fine lines from lifting or smudging.
Which nail designs work best on very short natural nails? +
Negative-space styles like micro French tips, cuticle-placed pumpkins, and single accent ghosts look best on short nails. Because the bulk of the nail bed stays bare or sheer, the designs do not look crowded and give the illusion of longer nail beds.
How can I paint straight lines without my hands shaking? +
Anchor the heel of your painting hand firmly against a flat table rather than floating it in the air. For geometric chevrons and sharp French curves, use low-tack painter tape or nail vinyl guides, peeling them away gently while the colored polish is still wet.